How to Edit Screen Recordings on Mac
If you are trying to figure out how to edit a screen recording on Mac, start with this order: trim the dead air, crop to the final frame, add zoom effects where the UI is hard to read, clean up sensitive information, add labels or a background, then export as MP4. QuickTime and iMovie cover the free basics. ScreenBuddy is built for the screen-specific polish that makes demos, tutorials, and support videos easier to watch.
Key Takeaways
- Use QuickTime Player when you only need a fast trim or split. It is built into macOS and handles simple cleanup well.
- Use iMovie when you need a free timeline editor for cropping, arranging clips, adding basic titles, or combining multiple recordings.
- Use ScreenBuddy when your recording needs screen-specific polish: zoom effects, cursor focus, annotations, gradient backgrounds, crop, trim, and MP4/GIF export.
- Edit in workflow order: trim, crop, focus, clean, polish, export. This prevents duplicated work and keeps the final video clear.
- Wyzowl reports that screen-recorded videos are a major marketing format in 2026, and video quality affects brand trust for most consumers.
How to Edit a Screen Recording on Mac: 6-Step Workflow
The common mistake is opening a recording and immediately adding effects. That feels productive, but it usually creates rework. If you crop later, your annotations move. If you trim later, your zoom timing changes. If you export before checking the destination, you may have to render the whole video again.
When I edit ScreenBuddy's own demo clips, I use the same sequence every time: cleanup, frame, focus, privacy, context, export. It works for product demos, async updates, training videos, bug reports, and help center walkthroughs.
Trim the dead air first
Remove the countdown, pauses, wrong clicks, and trailing silence before you touch anything visual. A tight cut makes every later edit easier to judge.
Crop to the final destination
Decide whether the video is for YouTube, a help doc, a landing page, or social media. Crop early so zooms and annotations are placed inside the final frame.
Add zoom effects for small UI details
Use zoom only when the viewer must read a button, menu, form field, or code line. Too many zooms feel busy; well-timed zooms feel like direction.
Clean up privacy issues
Blur, crop, or re-record anything that exposes customer data, private tabs, API keys, email addresses, internal URLs, or notification previews.
Add labels and visual context
Use short text callouts, arrows, and backgrounds to make the recording feel intentional. Keep labels short enough to read on mobile.
Export for the channel
Use MP4 for most distribution, GIF for very short silent loops, and higher-resolution exports for sales decks or product launch videos.
Free Mac Tools: What QuickTime and iMovie Can Actually Edit
macOS already gives you a few useful editing tools. Apple's official QuickTime documentation covers trimming movies and splitting clips, while iMovie adds timeline controls, clip trimming, and crop tools. That means you can clean up a simple screen recording without buying anything.
The tradeoff is that these tools are general video tools, not screen recording editors. They do not understand cursor focus, click-driven zoom, branded recording frames, or GIF export for documentation. That is where dedicated screen recording editors start saving time.
QuickTime Player
Best for a fast trim after recording with Cmd+Shift+5 or QuickTime itself.
Source: Apple QuickTime trim guide
iMovie
Best for free timeline edits, crop controls, simple titles, and combining clips.
Source: Apple iMovie crop guide
How to Make a Screen Recording Look Professional
Professional screen recordings are not necessarily cinematic. They are legible, tightly framed, paced well, and easy to follow without replaying the same moment twice. For software demos and tutorials, visual clarity matters more than flashy effects.
Wyzowl's 2026 video marketing research reports that screen-recorded videos are one of the main video formats marketers create, behind live action and animation. The same report says video quality affects brand trust for 89% of consumers. That matters for product teams: a blurry raw capture can make a polished product feel less trustworthy than it is.
Readable UI
Crop out empty space, zoom into small controls, and export at a resolution that keeps text sharp.
Clear pacing
Cut pauses, mistakes, repeated clicks, and loading screens unless they explain an important real-world delay.
Intentional frame
Use padding, shadows, and a quiet background so the recording looks designed instead of dropped onto a page.
Context cues
Add short labels or arrows when a viewer needs to understand why a button, setting, or field matters.
For deeper tactics, see the focused guides on zoom effects, backgrounds, and annotations.
ScreenBuddy Workflow: Edit, Polish, and Export in One Mac App
ScreenBuddy exists because the normal Mac workflow often becomes a chain of tools: record with Cmd+Shift+5, trim in QuickTime, crop in iMovie, add zooms somewhere else, convert the file, then re-export. That works, but it turns a five-minute demo into a half-hour production loop.
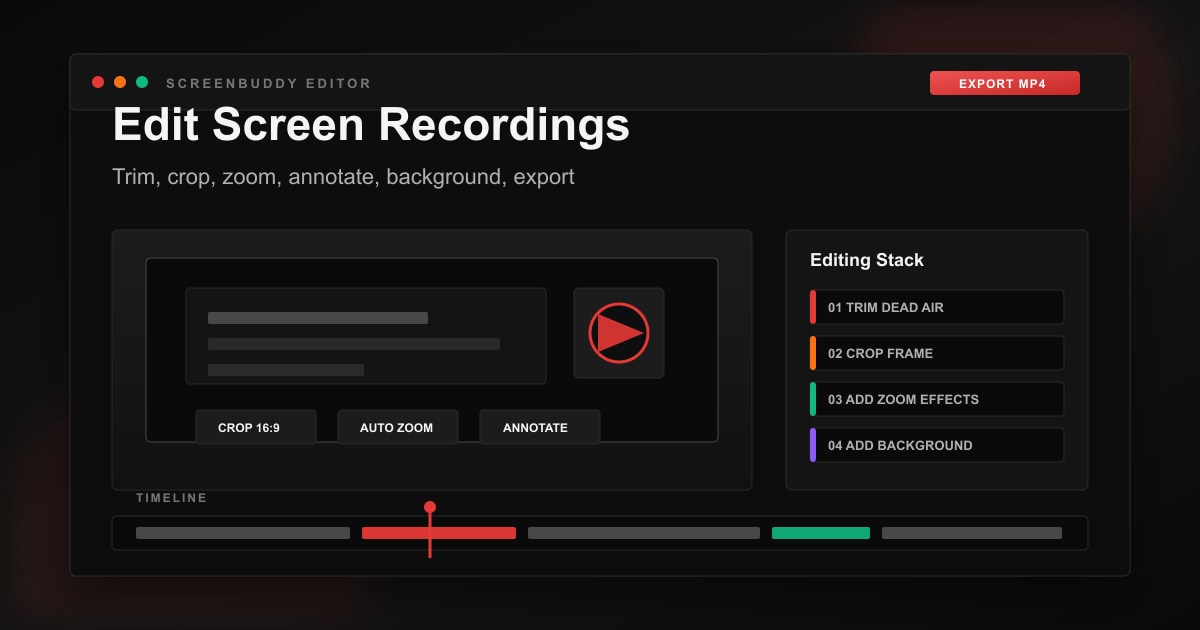
The ScreenBuddy workflow keeps the screen recording edits together. Import or record a clip, trim the rough edges, crop to the destination, add auto-zoom or manual zoom points, layer annotations, choose a gradient background, then export as MP4 or GIF.
This is especially useful for product demos, help docs, developer walkthroughs, and async updates where the viewer needs to understand a small interface quickly. A zoom effect on the exact click target can do more for comprehension than a paragraph of explanation.
Best Mac Screen Recording Editor by Task
The right tool depends on the edit. Here is the practical breakdown after reviewing the current ScreenBuddy content cluster and the live SERP for Mac screen recording editing queries.
| Tool | Best For | Weak Spot | Cost |
|---|---|---|---|
| QuickTime Player | Fast trim, split clips, remove audio | No crop, zoom effects, backgrounds, annotations, or MP4-first workflow | Free |
| iMovie | Free timeline editing, cropping, arranging clips, simple titles | More steps for screen-specific polish like cursor zoom, branded frames, and GIF export | Free |
| ScreenBuddy | Trim, crop, auto-zoom, manual zoom, annotations, gradient backgrounds, MP4/GIF export | Focused on screen recordings, not a full multi-track film editor | $29.99 one-time |
| Camtasia or Final Cut Pro | Large productions with multiple tracks, complex audio, transitions, and advanced effects | Heavier learning curve and more setup than most screen recording edits need | Paid |
Editing task map
| Task | Best Tool | Why |
|---|---|---|
| Cut the beginning or end | QuickTime Player | Fastest built-in trim workflow. |
| Crop to 16:9, 1:1, or 9:16 | iMovie or ScreenBuddy | Crop before adding zooms or labels. |
| Add zoom effects to clicks | ScreenBuddy | Built for screen readability and cursor focus. |
| Add a branded background | ScreenBuddy | Frames the recording for demos, docs, and landing pages. |
| Add text labels or arrows | ScreenBuddy or iMovie | Use short labels that work on mobile. |
| Export MP4 for sharing | ScreenBuddy or iMovie | MP4 is the safest distribution format. |
| Export GIF for docs | ScreenBuddy | Use only for short silent loops. |
Pre-Export Checklist for Mac Screen Recordings
Before you export, watch the video once from the viewer's point of view. Pretend you have never seen the product or workflow before. If anything feels slow, confusing, too small, or visually noisy, fix it before rendering.
The first useful action appears in the first 5 to 10 seconds.
No private tabs, customer data, email addresses, API keys, or notification previews are visible.
The crop matches the destination: 16:9 for YouTube and landing pages, 1:1 for feeds, 9:16 for vertical social.
Every zoom effect has a reason: a button, menu, setting, code line, chart, or form field that needs attention.
Annotations are short enough to read on mobile.
The background supports the recording without overpowering it.
Audio is clear, or the video still makes sense with no sound.
The export format matches the channel: MP4 for distribution, GIF for short silent loops.
If your recording came from a browser-based recorder and needs conversion, the WebM to MP4 guide explains the safest export path.
Frequently Asked Questions
Can I edit a screen recording on Mac for free?
Yes. QuickTime Player can trim and split screen recordings, and iMovie can crop, arrange, and export clips. Free tools are enough for basic cleanup. For zoom effects, cursor focus, branded backgrounds, annotations, and GIF export, use a dedicated screen recording editor like ScreenBuddy.
What is the fastest way to trim a Mac screen recording?
Open the recording in QuickTime Player, choose Edit > Trim, drag the yellow handles around the part you want to keep, then save the file. This is the quickest built-in option when you only need to remove dead air at the start or end.
How do I crop a screen recording on Mac?
For a free workflow, import the recording into iMovie, select the clip, open the cropping controls, and crop to your target frame. For screen recordings, crop to standard formats like 16:9, 1:1, or 9:16 so the export fits YouTube, docs, or social platforms cleanly.
How do I add zoom effects to a screen recording?
QuickTime does not add zoom effects after recording. Use a screen recording editor with timeline zoom or auto-zoom. In ScreenBuddy, you can add manual zoom points or let auto-zoom follow cursor clicks, then adjust the zoom level from 1.25x to 5x.
Should I export a Mac screen recording as MOV or MP4?
Use MP4 for sharing, websites, email, help docs, and social media because it plays almost everywhere. MOV is fine for local Apple workflows, but it is less convenient for distribution. GIF is useful only for short, silent loops in docs or GitHub READMEs.
What is the best screen recording editor for Mac?
The best editor depends on the job. QuickTime is best for fast trims, iMovie is best for free timeline edits, and ScreenBuddy is best when the recording needs zoom effects, cursor focus, backgrounds, annotations, crop, trim, and MP4/GIF export in one Mac app.
Related Guides
Mac Screen Recording Guide
Record with Cmd+Shift+5, QuickTime, and dedicated apps.
Zoom Effects Guide
Use auto-zoom and manual zoom to highlight UI details.
Screen Recording Backgrounds
Add gradient backgrounds, padding, radius, and shadows.
Annotations and Text Overlays
Add arrows, labels, and visual callouts to recordings.
Edit Screen Recordings Without the Tool Chain
Record or import a clip, add zoom effects, crop, annotate, choose a background, and export MP4 or GIF from one focused Mac app.