
Screen Recording Backgrounds & Canvas Settings
Frame a Windows screen recording with a quiet background, padding, and the right aspect ratio. Use 1.8.0 Canvas settings and check portrait crops before export.
Quick answer
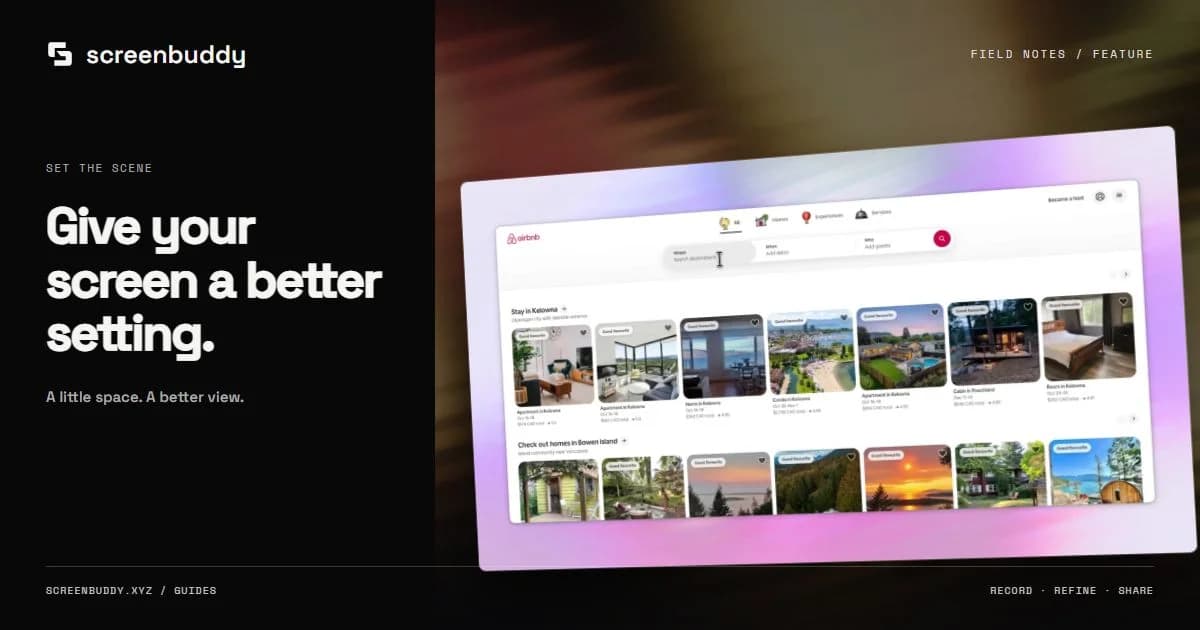
Frame your recording with an image, solid color, gradient, or motion background in ScreenBuddy. Keep padding modest so the interface stays readable. Add rounded corners and shadow for separation; use 3D Camera when a perspective change helps explain the action.
Best for
- Consistent framing across product demos and launch clips
- Making a recording stand out on a website or social post
Not the best fit for
- Busy backgrounds that compete with small interface text
- Laptop device mockups, which are retired in the current app
Choose the destination before the background
Decide whether the recording will appear in a wide website player, a square post, or a vertical feed. Set the canvas shape first so the backdrop does not disguise a bad crop. A horizontal tutorial needs room for menus and results; a portrait cut may need to follow one narrow task. Keep the important controls inside the final frame throughout the take.
Keep the background quieter than the interface
Choose a solid color, restrained gradient, or image with little competing detail. Inspect it behind both light and dark application windows. A high-contrast pattern can make a recording seem busy without helping the viewer. Match the page where the video will appear, and check that its edges remain visible in both website themes. Use your own image only when you have permission to publish it.
Set padding for readability
Padding gives the application room to breathe, but it also reduces the number of pixels available for its text. Increase it only while the smallest required control stays legible. Keep corner treatment and shadow consistent across related clips. Compare at the actual website player size instead of judging a large editor preview. For support instructions, readable UI matters more than a dramatic surround.
Use Canvas in the 1.8.0 release
Canvas provides the aspect ratio and framing controls. Available shapes include 16:9, 9:16, 1:1, 4:5, 4:3, 16:10, and 10:16. For portrait output, compare Fill portrait with Fit original. Filling can crop the source; fitting can leave more background visible. With no webcam, inspect the centered crop carefully. When webcam is enabled, the portrait layout can place the camera above the screen. These Canvas controls are available in the published 1.8.0 installer.
Treat 3D Camera as a separate composition choice
The current release’s 3D Camera changes the recording plane with camera pins and keyframes. It is not the older 2D or 3D laptop device-frame chooser. Use a small camera move only if it helps introduce or reveal the interface, then return to a readable view for the task. A flat recording with clear focus is often sufficient for an instructional video.
Keep a written visual recipe
Write down the aspect ratio, background, padding, corner treatment, caption position, and cursor size that work for your site. Reuse those decisions across related clips without depending on the retired template gallery or brand-kit controls. Save editable projects and note the application version shown. A written recipe makes future updates easier when an interface or feature changes.
Review the export in its destination
Place a sample in the actual page or player. Confirm that the backdrop supports the surrounding layout, captions stay inside the frame, and zoom does not expose a private area. Watch the loop transition as well as the middle of the clip. Use MP4 for efficient website video and keep a separate poster that shows a useful state rather than an empty first frame.
Frequently asked questions
Where are background controls in 1.8.0?
They are grouped under Canvas in the 1.8.0 release. See the changelog for the published 1.8.0 release and downloads.
Does the current release include laptop device frames?
The current workflow uses Canvas framing and 3D Camera controls for the recording plane. The earlier laptop device-frame chooser is retired.
Should I fill a portrait canvas or fit the original?
Fill portrait uses the available space and may crop the source. Fit original preserves more of the recording. Review all required controls before choosing.
Make your screen recording easier to follow.
Record, refine, and share from one app. Automatic zoom, cursor effects, and captions help make every step clear. Record and edit free. Exporting and shareable links need a subscription.